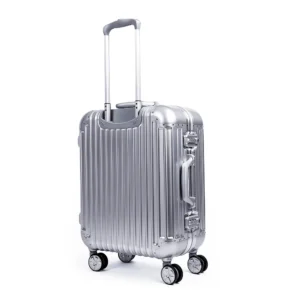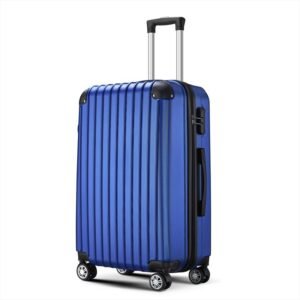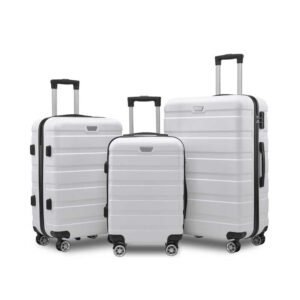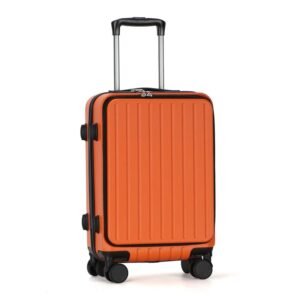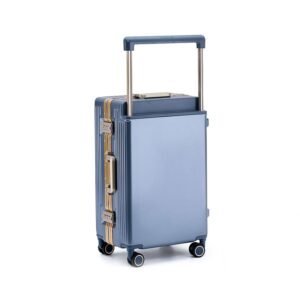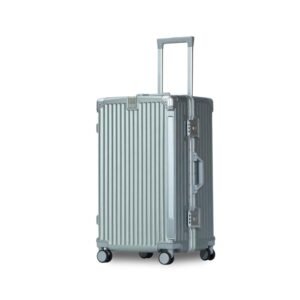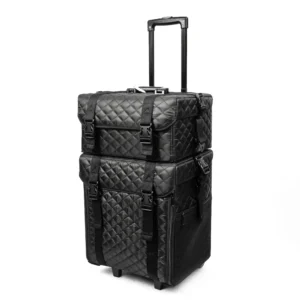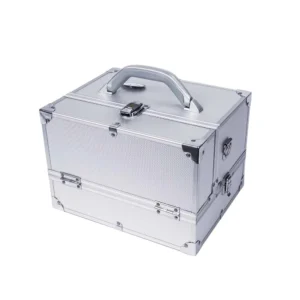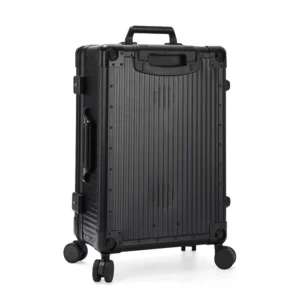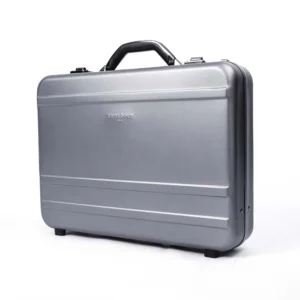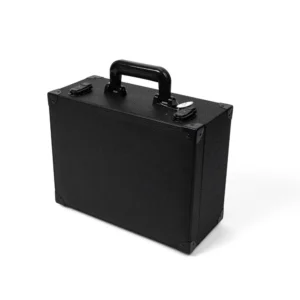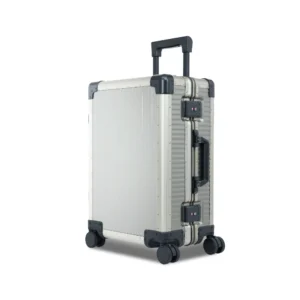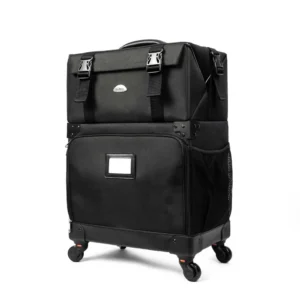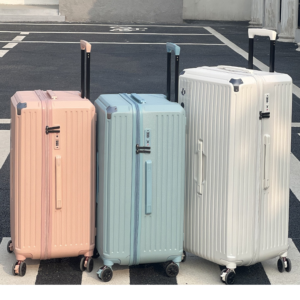

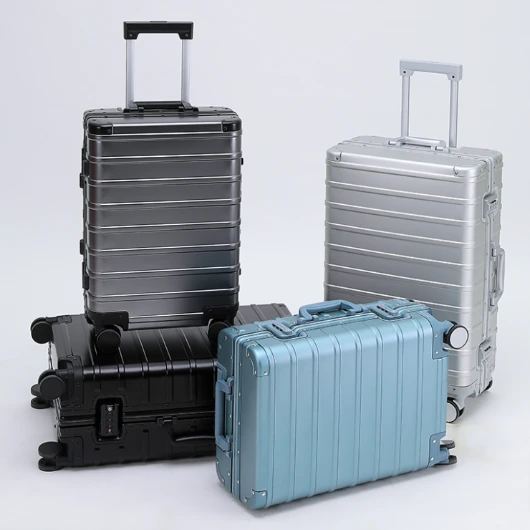
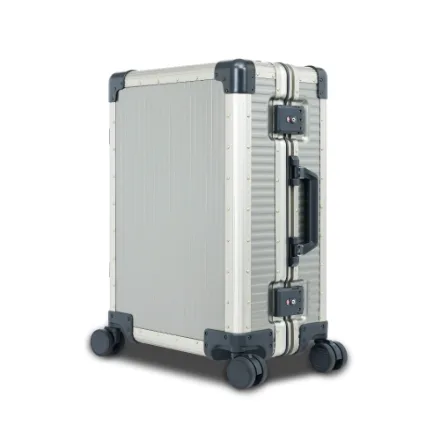
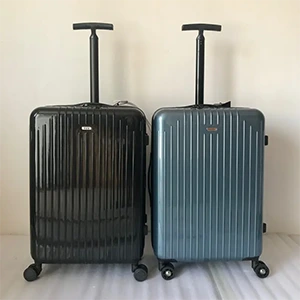
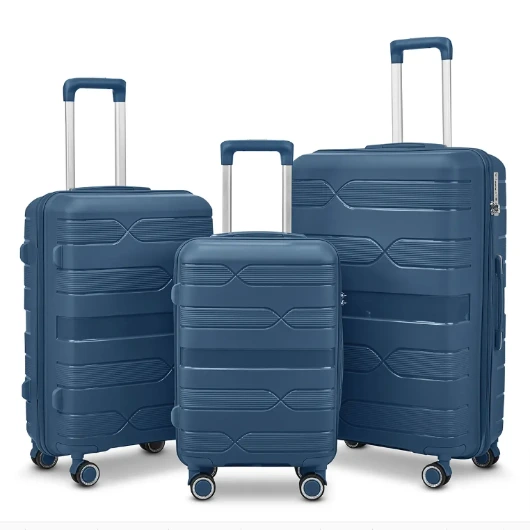
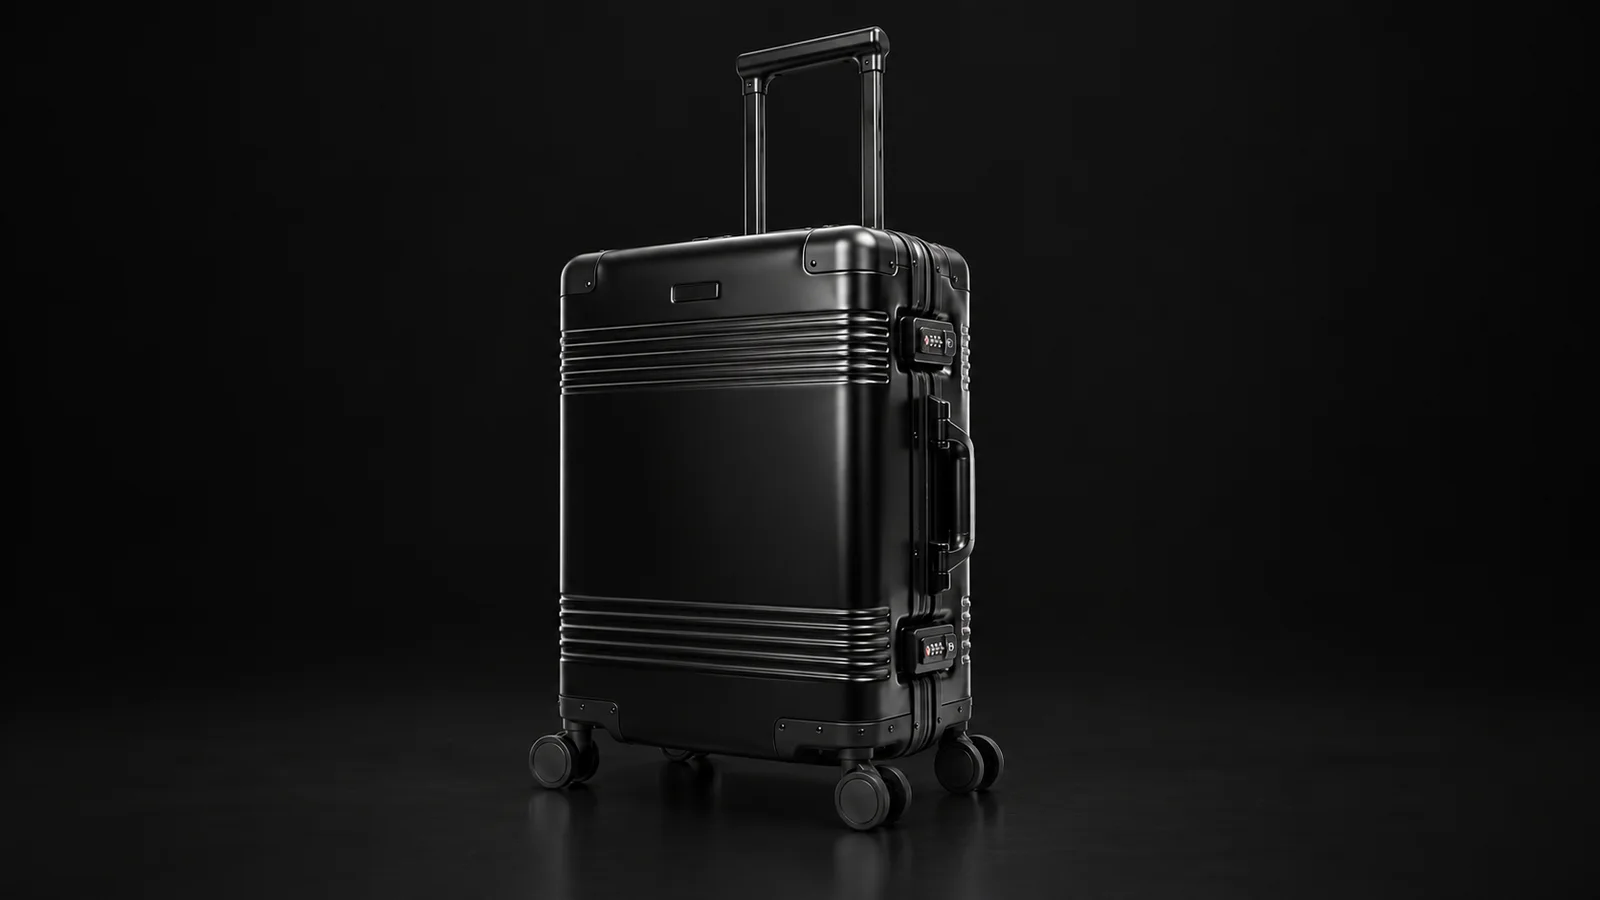
If you are adding an aluminum carry-on or extending an existing range with checked sizes, choose the telescopic handle while the case is still being developed. Its height, grip, movement and mounting position affect how the finished suitcase works, how much room is available inside, and whether it pairs comfortably with your brand’s backpack or travel bag.
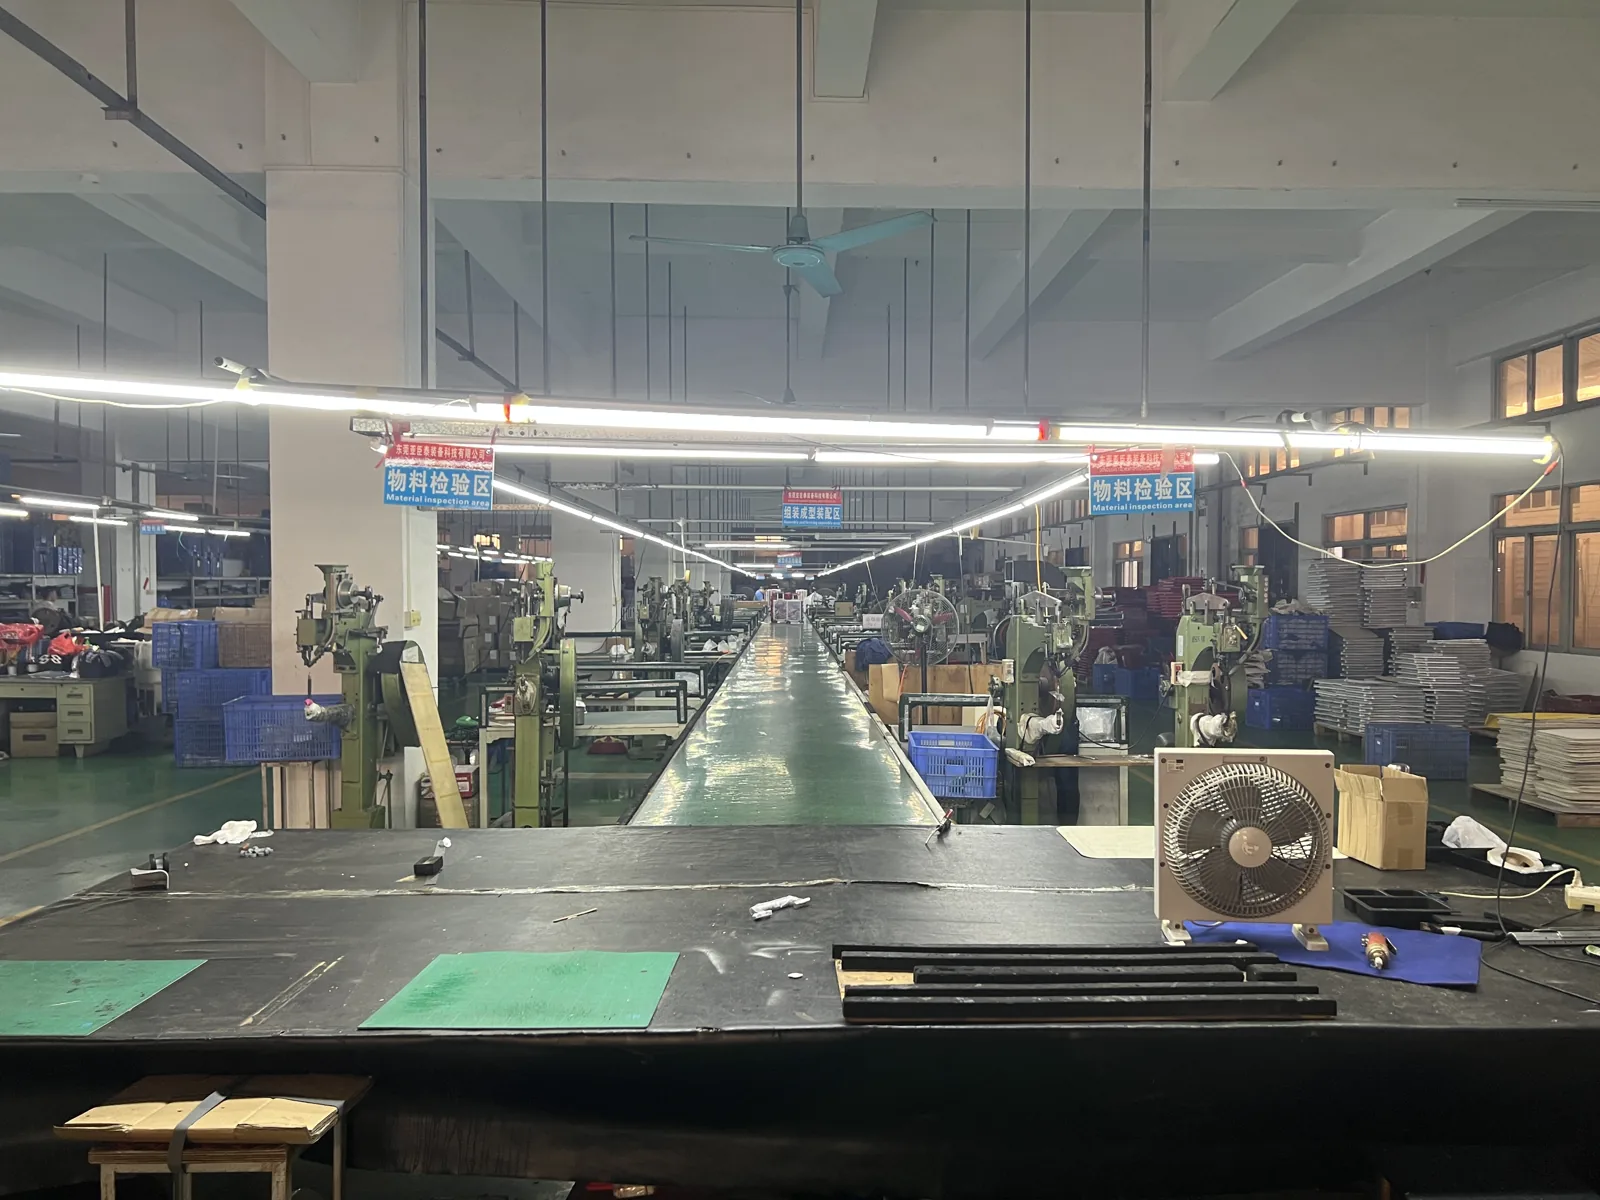
At Aluvox, we combine in-house product development and case manufacturing with components from specialist suppliers. We can start with an existing model or discuss a new appearance, layout or function. For brands and wholesale buyers, the aim is to choose a configuration that works on the sample and can be clearly specified for production, reorders and spare parts.
How we develop the case and select its handle
Our development work covers product design, case construction, tooling and samples. The handle’s mounting points, the interior layout and the space around other components all belong in that work.
We source handle assemblies from specialist suppliers, including Jiangshun, Sunsen and Boluo Jingxiang. The component selected for a project depends on the case model, size, appearance and requirements. Purchasing an assembly and developing the suitcase around it are different parts of the same project.
For example, if you want a flatter central packing area, we need to review where the handle tubes can sit, how they attach to the case, and what changes to the shell and lining would follow. A photograph of a handle cannot resolve those questions.
With an existing case, we can begin with compatible assemblies and discuss grip, color and height options. A different layout or mechanism needs a closer review of the component and case together. The result to approve is a complete suitcase: the handle operates properly, the mounting and interior meet the agreed requirements, and the selected configuration is identifiable in the order.
Choose an existing handle or develop a different configuration?
We can start with an existing configuration; custom development should address a specific change in appearance, layout or function.
Use an existing configuration for an established wholesale range
Start with the case model and sizes, then compare compatible handles for grip, height, appearance and cost. If an existing option meets the brief, development can focus on your branding, lining and packaging.
Change the appearance for a branded range
A different grip profile, button, finish or logo placement can be a useful starting point. The available changes depend on the selected assembly and manufacturing process. Some involve a new part or mold, even when the underlying mechanism stays the same.
Review structural development for a new function
Changing the height-adjustment mechanism, tube spacing or retracted position requires a review of the mechanism, mounting and sample work. Define the feature you want first, so we can assess which parts can stay and which need development.
| Your product plan | What we would discuss first |
|---|---|
| Extend a wholesale range | Compatible components for an established case, with a consistent appearance and clearly specified reorder configuration. |
| Add a business carry-on | Grip, usable height, handling and compatibility with your brand’s backpack or travel bag. |
| Create a distinctive aluminum model | Grip shape or tube layout, including the effect on the interior and case construction. |
| Develop a range of sizes | A coordinated appearance, with assembly length and mounting assessed for each case size. |
Custom development should deliver a specific product feature. Once that feature is clear, we can discuss whether the additional tooling and sample work fit your plan.
Standard twin-tube handles, wide handles and T-shaped grips
Tube spacing affects mounting and the interior; a T-shaped grip describes the grip shape and does not, by itself, define the tube layout.
The main difference between a conventional twin-tube handle and a wide handle is the distance between the tubes and where they sit on the back of the case. Conventional tubes are generally closer to the center; a wide arrangement places them farther apart, toward the sides.
| Detail | Conventional twin-tube layout | Wide-handle layout |
|---|---|---|
| Tube position | Closer to the center of the case back. | Farther apart, toward the sides. |
| Interior | Tube channels can create raised areas near the center. | The center may be flatter; the sides still need room for tubes and mounts. |
| Development focus | Tube length, spacing, mounting points and interior covers. | Side mounting space, support and the surrounding case structure. |
| Matching travel bags | Check the luggage sleeve, grip and button clearance. | Also check that the sleeve can pass over the wider grip. |
A T-shaped grip describes the grip’s shape, not the spacing between two tubes. The name alone does not establish the number of tubes, mounting method or compatibility with another case.
Our YCT-006 aluminum suitcase is an existing example with a T-shaped grip. It gives you a real model to consider when discussing appearance and how the handle feels in the hand. Applying a similar look to another case still requires a review of mounting, retracted length and proportions.


Set the handle height, tube stages and locking positions
Choose a usable grip height on the finished case, and specify tube stages and locking positions separately.
Compare the grip’s height from the ground when extended, rather than just the length of tube above the shell. Wheel height, case dimensions and mounting position all contribute to the final height.
For a business carry-on, we can compare upright rolling and tilted pulling on the sample, then add the matching backpack or travel bag to check access to the button and grip. For checked sizes, review the handle with the intended load and handling in mind. An assembly that fits a smaller case is not automatically suitable for a larger one.
Two specifications need to be kept separate:
- Telescopic stages: the nested tube sections, which affect retracted length and extension range.
- Locking positions: the heights at which the handle can stop and lock.
More tube stages do not mean the same number of additional locking positions. More positions also need to provide useful adjustment rather than just a larger number on a specification sheet. On the sample, check each position, button return and coordinated operation on both sides where the assembly uses two tubes.
Check packing space and compatibility with travel bags
A flatter packing area can be useful without increasing total capacity; check the interior and your matching travel bag on the sample.
Moving the tubes toward the sides may reduce raised areas in the middle of the interior, making it easier to lay clothing, document bags or packing cubes flat. But a flatter center does not automatically mean greater total capacity.
Tubes, mounting brackets, the shell shape and lining still take up space. A layout change can move that space from the center to the sides. To evaluate the benefit, compare cases with similar external dimensions, inspect their interiors and use the same set of intended contents for a packing comparison.
That separates easier packing from a measurable capacity increase. Any percentage used in a product listing should come from the corresponding measurement, rather than the handle’s appearance.
For a luggage-and-bag collection, check the combination during sampling. A narrow luggage sleeve may not pass over a wide grip, and a bag placed on the case can obstruct the release button or hand space. Providing your matching bag gives us a practical way to assess the whole set.
What determines how the handle feels?
To address sticking or looseness, we need to locate the cause in the mechanism, tube fit or case mounting.
“Aluminum handle” identifies only part of the specification. A complete assembly includes tubes, a grip, a button, locking parts and mounts. Tube material, profile, wall thickness, clearance and attachment to the case all affect the result.
A thicker tube may also add weight. An overly tight fit can restrict movement; excessive clearance can contribute to noticeable play. Weight, wall thickness or a supplier name alone is not enough to select the assembly.
When reviewing a sample, separate the symptoms:
- Sticking during extension: examine the tubes, mechanism and installation fit.
- A difficult button: review grip access, button action and return.
- A position that does not lock: inspect that locking point and coordinated operation where applicable.
- Movement during rolling: distinguish play within the telescopic assembly from a loose case mounting point.
A telescopic assembly needs working clearance, so slight movement is not the same as a loose bracket. Identifying where movement occurs helps determine whether to adjust the component or its attachment.
The same supplier can offer different models and specifications. Record the chosen assembly in the order; the supplier’s name alone does not define its feel or performance.
When does a handle change require new tooling?
New case molds are not always necessary: the development scope depends on which grip, mounting or tube-layout details change.
Changing a handle does not always require a new set of case molds. First, we compare tube spacing, retracted length, mounting holes, brackets and surrounding clearance.
Compatible mounting dimensions
An alternative assembly may be assessed on the existing case structure. The complete sample still needs to demonstrate extension, locking and interior fit; matching holes alone are not sufficient.
Local changes to the installation
A different bracket, interior cover or mounting detail may require changes to individual parts or production fixtures. Identify those items before discussing cost and sample work.
A different tube layout
Moving from central tubes to a wide arrangement, or changing the recess in the case back, may involve shell and mounting development. We review those changes together with the interior.
For a new range, choosing the handle during structural design and sampling makes it easier to assess the change before other parts are finalized. It also allows the quotation to separate the assembly, tooling and development work.
Agree on finishes, custom grips and exclusive use separately
For a coordinated range, discuss the handle alongside the shell, locks and other hardware. Grips, buttons and metal tubes may use different materials and finishes, so a similar color can have a different gloss or texture on each part. Compare the samples on the complete case before approving the combination.
A custom grip needs a more specific brief: which contour, button or branding detail should change, and does it require a new part or mold? This distinguishes an appearance change from development of the internal mechanism.
If the project requires exclusive use, agree on that separately. A logo or custom color does not automatically make the entire handle assembly exclusive. For dedicated tooling or exclusive supply, discuss the relevant parts, costs, scope and reorder arrangements before development begins.
This gives your brand a clear description of what the development investment covers. It also helps wholesale teams distinguish a standard configuration from a custom version when placing later orders.
Check the handle on a complete case sample
Approve the handle on a complete case under agreed use and test conditions, not just by extending it on an empty suitcase.
A few extensions on an empty suitcase do not cover loaded use. Weight distribution and handling change once the case is packed, so the sample review should reflect the intended product and the agreed load.
| Check | What it examines |
|---|---|
| Empty-case extension | Sticking points and button return. |
| Each locking position | Engagement and coordinated operation where applicable. |
| Rolling and turning with the agreed load | Grip access, unusual looseness or rattling during handling. |
| Repeated extension and retraction | Operation of the telescopic and locking mechanisms after repeated use. |
| Use with the matching bag | Sleeve fit, button access and available hand space. |
| Project-specific strength or durability tests | The relevant parts and connections under agreed test conditions. |
Extension cycling, loaded lifting, bending and compression address different questions. One test cannot stand in for all of them, and component information alone does not establish the result on every case design. The test must also be appropriate to the particular handle or connection being evaluated.
For projects with defined testing requirements, agree on methods, loads and acceptance criteria, and distinguish sample validation from sampling checks or other inspection arrangements.
If a handle moves freely on its own but sticks after installation, the mounting fit needs investigation. After a change, check the revised sample against the original problem rather than treating the replacement of a part as proof that the issue is resolved.
Specify handles for production, reorders and spare parts
Agree on component identification, size compatibility and spare parts with the initial order so later supply matches the approved configuration.
After sample approval, identify the component model or part number, case sizes, finish, locking positions and installation in the order specification. A family of cases can share a visual style without using identical internal parts; record which components are shared and which are size-specific.
For a repeat order, check whether the assembly version remains the same. A visually similar replacement may affect fit, operation or spare-part compatibility, so any proposed change needs to be explained and agreed before use.
Spare parts belong in the initial order discussion. Decide whether to supply complete handle assemblies or separately replaceable parts, which case sizes they fit, how they will be labeled, and whether they should ship with the first order or be supplied later.
Your brand or distributor normally supports the end customer. Agreeing on compatible parts and clear identification during manufacturing makes that support easier than trying to identify a replacement from photographs after the sale.
Send us your case model and product brief
You do not need a complete handle engineering drawing to begin. Share a reference model, planned sizes and the features you want to add, and we can discuss the configuration around the whole case.
| Send us | What it helps us discuss |
|---|---|
| Reference case and sizes | Whether existing construction and components suit the brief. |
| Order quantity and reorder plans | Standard versus custom configurations and supply arrangements. |
| Intended use and desired features | Priorities for a business carry-on, checked range or coordinated travel set. |
| Matching backpack or travel bag | Practical compatibility with the handle. |
| Target cost and appearance | The base configuration and any additional development. |
| Testing and spare-part requirements | Sample validation and support for your after-sales team. |
If you are improving an existing product, a sample, photographs or an operating video can help. Describe whether the handle sticks when retracting, fails to lock at a particular position or moves noticeably during rolling. A specific symptom gives us a better starting point.
Share the aluminum case you want to add to your range and what you would like to change. We can discuss existing models, development work and handle configurations, then work through the sample and order details with you. Discuss your luggage project with Aluvox.