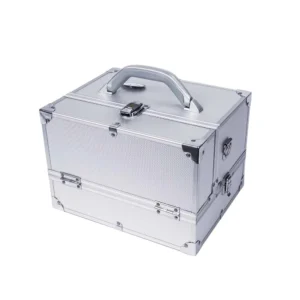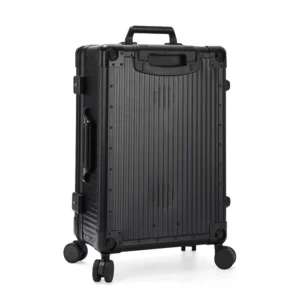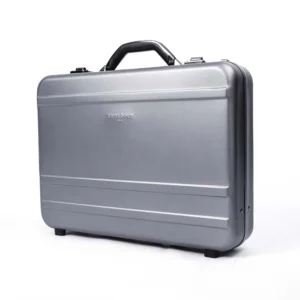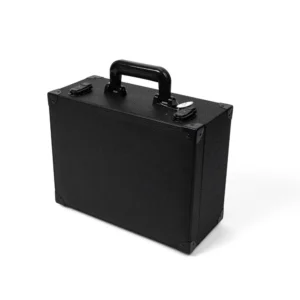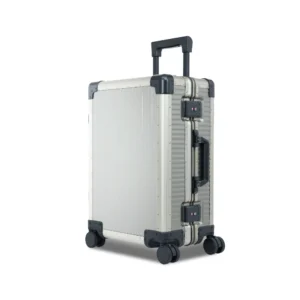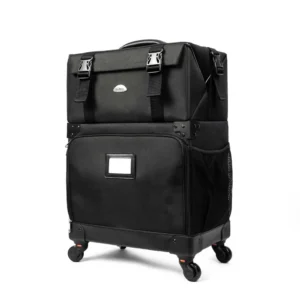

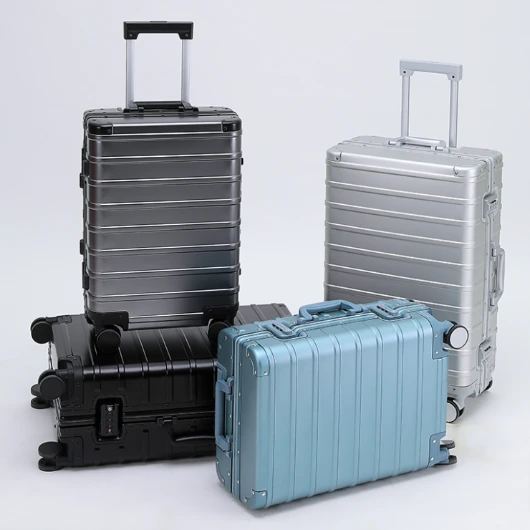
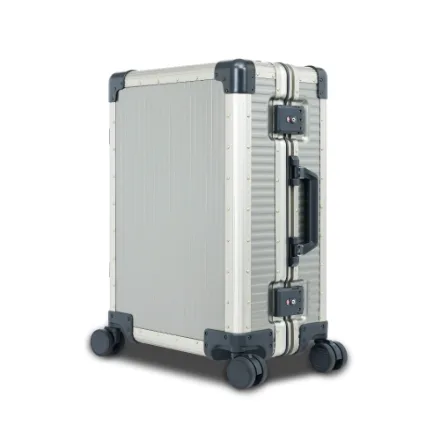


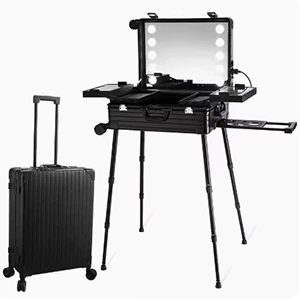


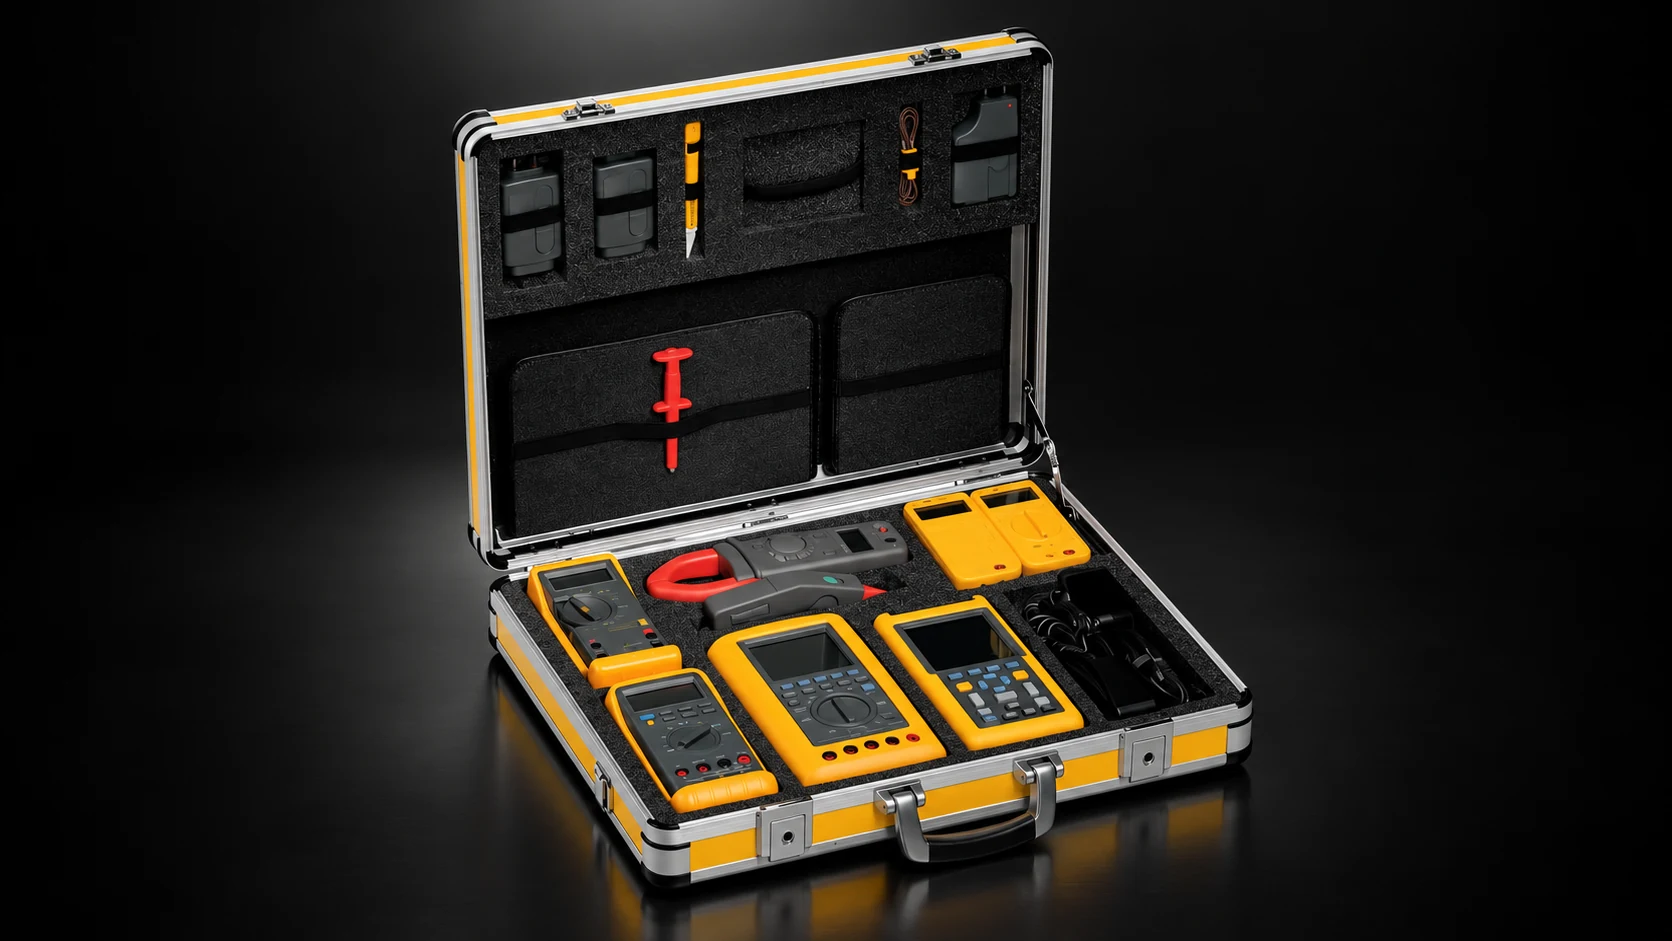
When equipping different service teams, start by considering one case body with a separate insert for each tool kit. Similar tools and accessories may also share an insert. Larger differences in equipment dimensions, retention or carrying requirements call for a comparison of different case bodies.
Sharing a design reduces the number of case-body variants to purchase and reorder. But that advantage can be lost if every small kit has to use an oversized case. List the differences between the kits first, then compare designs, costs and the samples needed for each version.
Compare the Differences Between the Tool Kits
List the actual contents of each kit. Group the tools used across all kits, then list the different main units, probes, leads and accessories separately. Provide dimensions as the equipment will be packed, including any covers, connectors or handles that stay attached.
Consider these three tool-kit examples.
| Example kit | What differs | Design question |
|---|---|---|
| Basic maintenance kit | Hand tools, a multimeter and regular accessories | Establish the space this kit needs as a starting point for comparing the other versions |
| Electrical diagnostic kit | Some shared tools, plus a clamp meter, probes or dedicated leads | Can the accessory area serve both kits, or does this need another insert? |
| Larger instrument service kit | A different main-unit shape, weight or removal direction | Review interior space, opening and carrying configuration before assuming an insert change is enough |
Include the equipment requirements: connectors that must stay clear of pressure, a specified storage orientation, or a unit that must be removed for use. These affect insert support positions, lid clearance and access.
List the planned quantity for each kit too. A widely issued basic kit and a small specialist batch may suit different bodies. Include their quantities in the quotations before deciding whether a shared body is worthwhile.
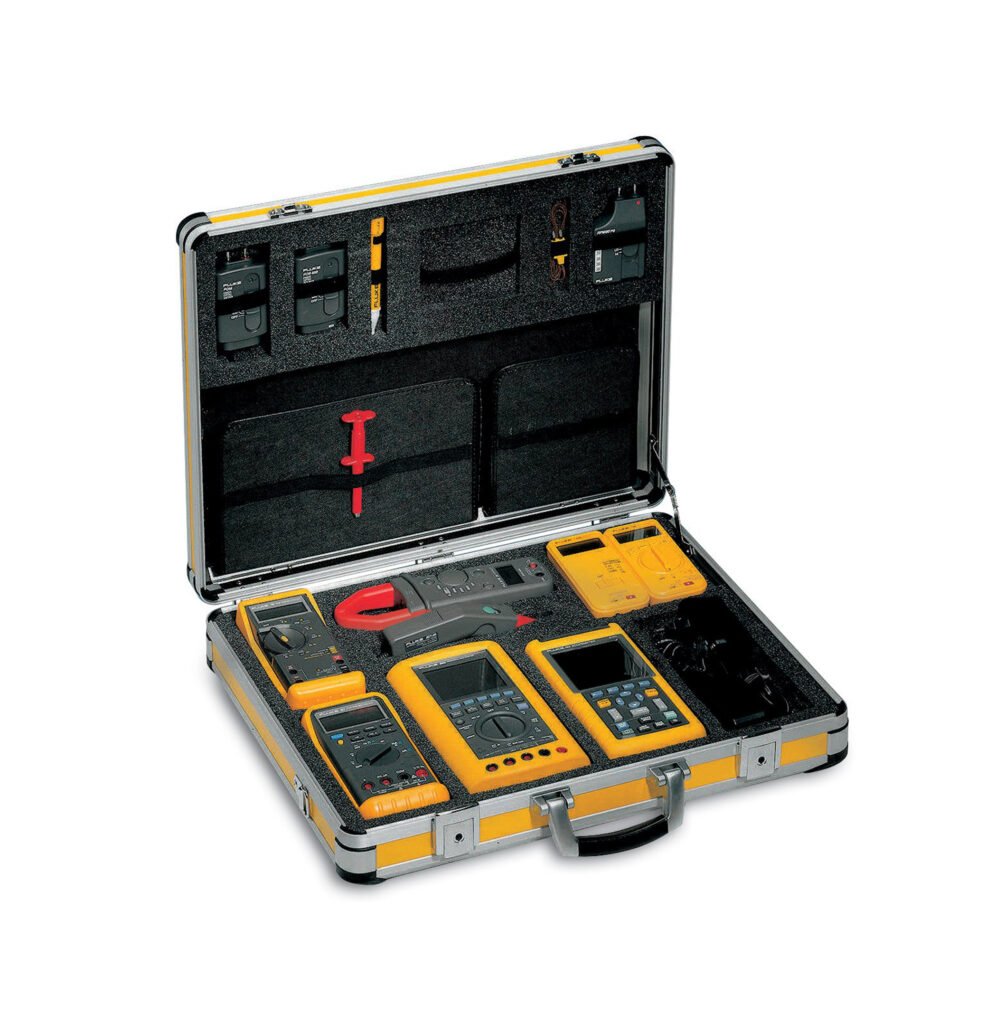
Aluvox’s equipment-case formats and custom foam inserts provide a starting point for that discussion. We can compare case and insert options using the details of the different kits.
Share the Complete Case, Change the Insert, or Use Another Body?
The body sets the available space, opening and carrying method. The insert holds the tools and leaves room to reach a handle or grip an item. Even similar-looking instruments may have different connectors, support positions and removal directions.
| Option | When to consider it | Changes or limits to account for |
|---|---|---|
| Same body and insert | The main tools match and the different accessories fit the same layout | Fit each kit in the insert and check that its tools are secure and easy to remove |
| Same body, different inserts | Space and carrying needs are similar, but equipment outlines or positions differ | Design, quote and review each insert separately |
| Different bodies and inserts | Main-unit dimensions, opening, handling or protection requirements differ substantially | Develop and reorder each separately, with a body size and configuration suited to each kit |
For example, if the maintenance and diagnostic kits differ by only a few accessories, first try retaining the main tool positions and changing the accessory area. If the clamp meter takes another tool’s space, compare two dedicated inserts so compatibility does not come at the expense of retention and access.
A larger instrument may need more lid clearance or a different opening as well as a wider recess. Include another body in the quotation to compare the practical differences between the two options.
Also establish who will change the inserts. Factory-installed inserts in the same body produce two finished configurations. If users need to swap inserts in the field, the removal, refitting and retention arrangement needs a separate design.
Compare Quotations with the Same Scope and Quantities
Use the same kit list and quantity plan when requesting prices for the alternatives. A bare-case price cannot be compared directly with a price that includes an insert, nor can prices for different equipment combinations be compared as if they cover the same product.
| Quotation item | What to establish |
|---|---|
| Case bodies and hardware | Shared formats, dimensions and components, with the quantity of each |
| Inserts | The insert for each kit, its material and manufacturing requirements, and whether installation is included |
| Development and samples | One-time preparation for bodies and inserts, samples required, and revision and shipping charges |
| Identification and packaging | Which elements are shared and which are made or packed separately for each kit |
| Tools and assembly | Who supplies the tools and where they are installed; whether insert installation and other agreed assembly work are included |
Each insert still needs its own price. Identify design and production preparation for each insert, along with kit-specific labels and packaging. If a quotation includes molds or other tooling, ask which component the charge covers, whether it is a one-time fee and how reorders will be priced.
The comparison may favor one body for the main kit and another for the larger specialist kit. That adds a body variant but avoids using an unnecessarily large case for every basic kit. Compare development charges, the price of each configuration, packaging and shipping volume using actual quotations.
List first-order quantities separately from expected reorders. Confirm the terms for buying inserts alone, replenishing one kit or changing a tool, including minimum quantities, revision charges and lead times.
Decide Which Versions Need Another Sample
Review each insert with the tools it will carry. Keep the existing sample for comparison and focus the new sample review on the changes. A moved tool needs a retention and access check; a taller main unit also needs a lid-clearance check.
| Version difference | What the existing sample can show | What remains to check |
|---|---|---|
| Same equipment and insert; different artwork or label | The original configuration’s construction and access | The revised artwork and corresponding applied result |
| Same body; revised recesses or accessory positions | The original body’s space and opening | The new insert fitted in the body with this kit’s equipment, including retention and access |
| Taller or wider main unit, or a different removal direction | The original design as a comparison | The new unit, lid, body and insert together; another body where necessary |
| Similar outline; different weight or protection requirements | The identified configuration and completed records | Which handling and protection evidence still applies, and what needs new validation |
Suppose the maintenance kit has been accepted and the diagnostic kit has a revised accessory area. Fit the clamp meter, probes and leads in the new insert together. Check whether the new positions affect neighboring tools, whether items obstruct each other during removal and whether the lid has enough clearance.
Do not review only the largest or heaviest kit. Smaller instruments may have different projecting connectors, support positions or removal directions. Check these details with the corresponding equipment. Choose configurations for protection, load or endurance testing according to the specific test requirements.
For individual checks, revision requests and rechecks, see our sample review and revision guide. For test conditions and report contents, see our tests and report scope.
When a Tool Changes, Review the Insert and Body It Affects
Compare the old and new equipment details first: shape, dimensions, weight, protrusions, contact restrictions and removal direction. Then identify the affected positions in the accepted body and insert design.
New model, same shape: compare dimensions, weight and contact requirements before deciding whether to retain the insert.
Wider tool or moved connector: check the space around the recess and whether the change affects retention or removal of neighboring tools.
Taller main unit or changed carrying needs: review lid clearance, the opening and the handle or wheeled configuration together. Then decide whether to revise the insert or change the body.
After agreeing on the change, update the affected insert drawing and kit list, identifying the body they belong to. Keep the corresponding details for unchanged kits so a reorder does not pair a new insert with old equipment by mistake. Whether the insert can be replaced separately also depends on its original installation.
For other applications, such as instrument presentation and transport, see our custom carrying case applications and development guide.
To discuss a custom equipment or tool case, send the complete lists, photographs or drawings, quantities and the parts of the design you hope to share. We can start by comparing existing formats and insert options, then discuss what can stay and what needs developing separately.