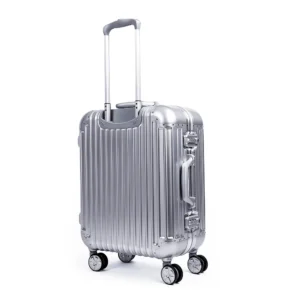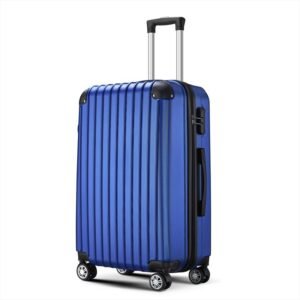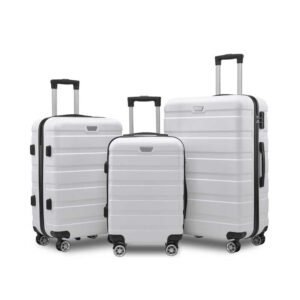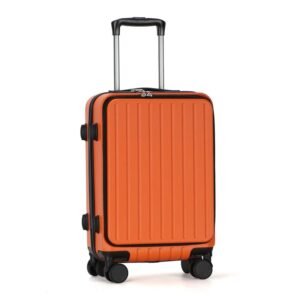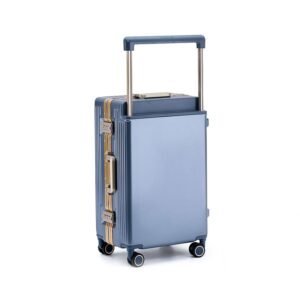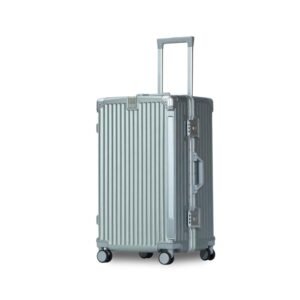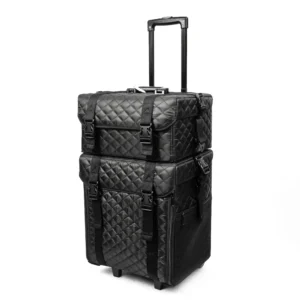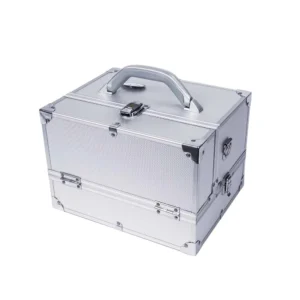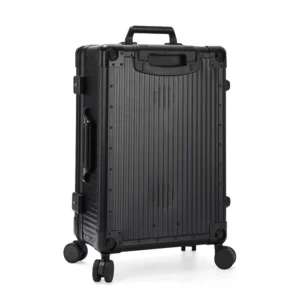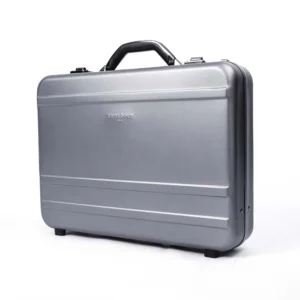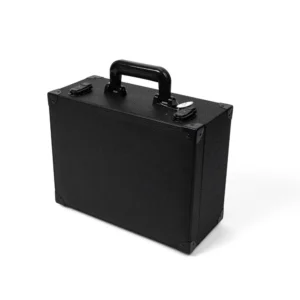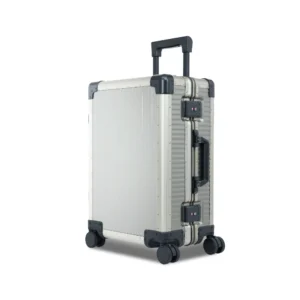

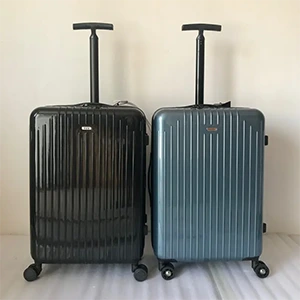
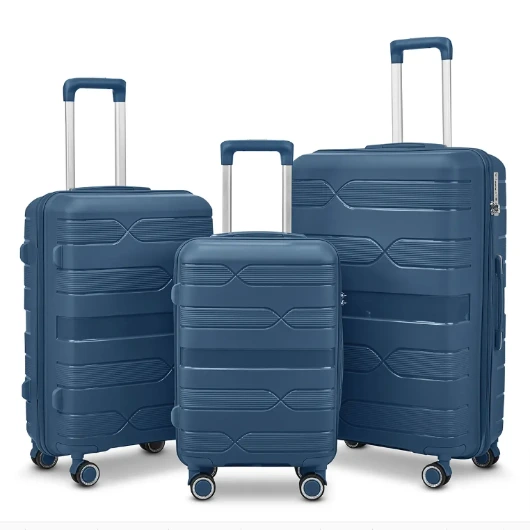
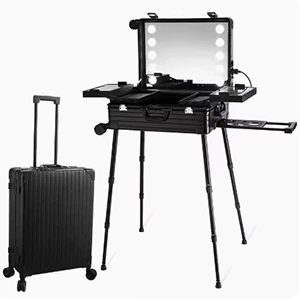
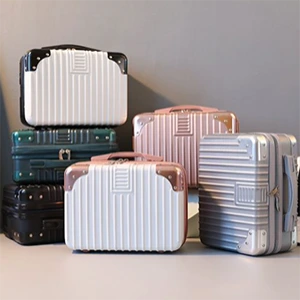
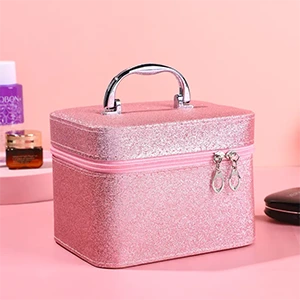
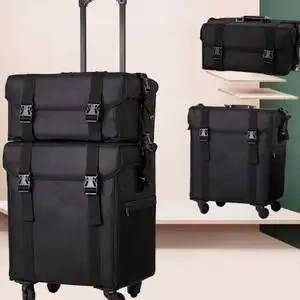
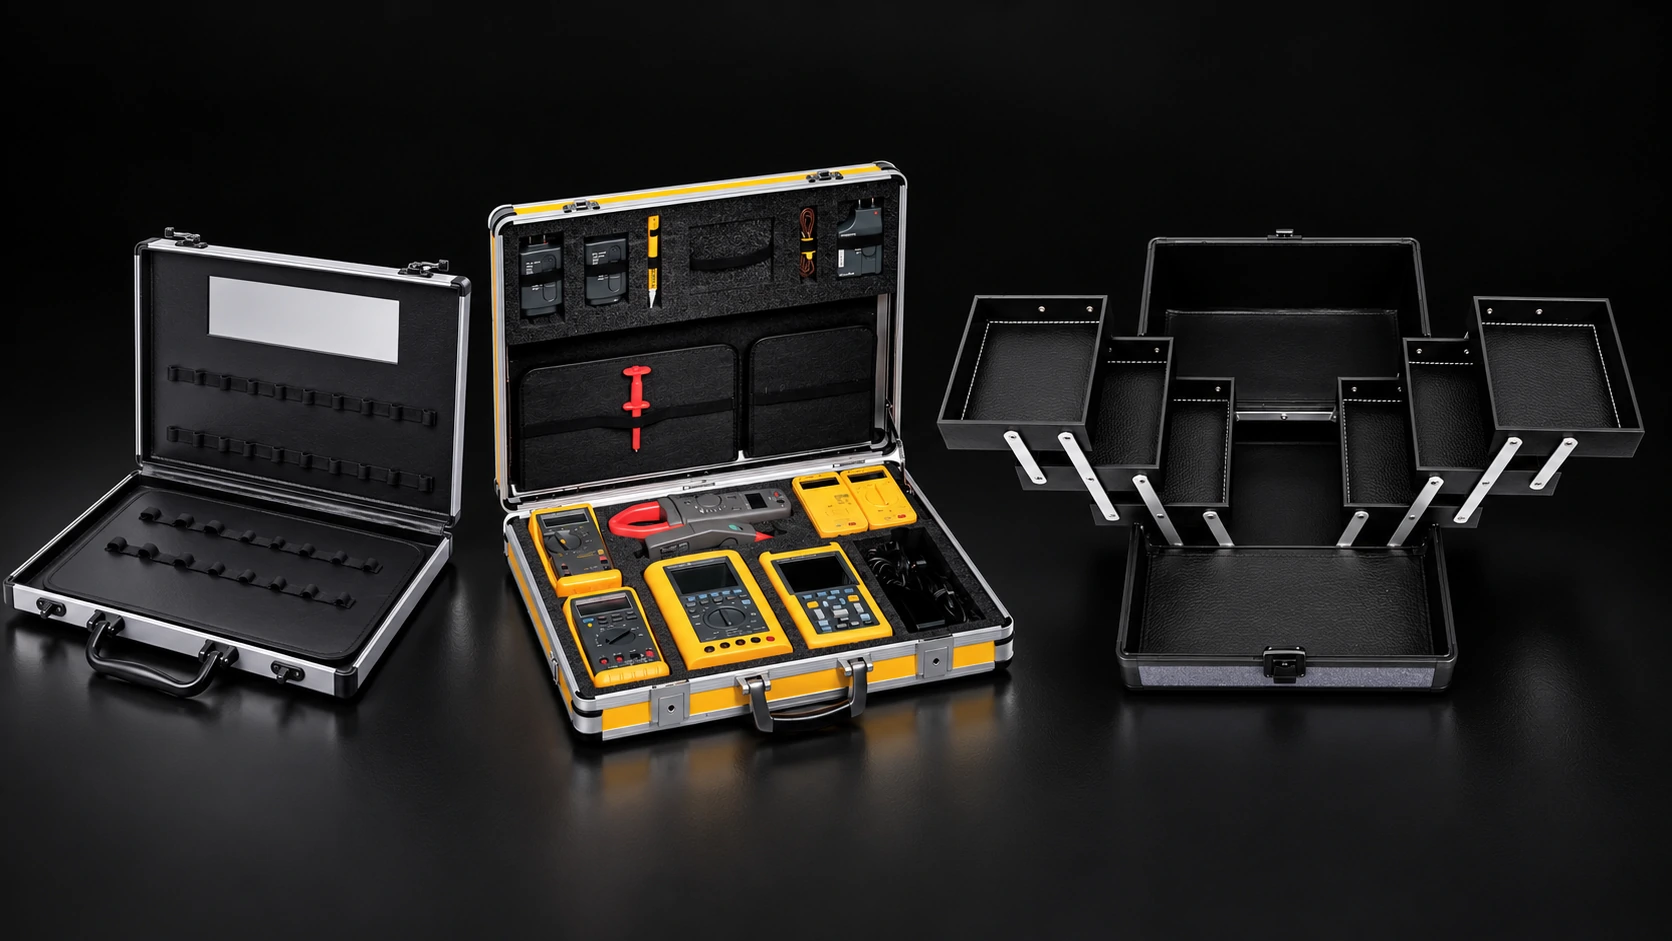
Are you developing a sample kit for your sales team, supplying equipment with a carrying case, or adding a professional case to your product range? Tell us what goes inside and how your customers will use it. We can work with you on the case size, opening, interior layout and branded exterior.
At Aluvox, our custom case service includes handheld presentation cases, equipment cases and fold-out displays. We can adapt an existing format or develop a new design for your set. The details change with the job: a hardware sample needs its important features visible, a camera kit needs room for its chosen configuration, and a working beauty case needs to fold closed with its products inside. Below, we explain how those uses shape the case.
Hardware & Machined Parts
Furniture handles, cabinet hinges, brackets and machined connectors are examples of products you might take to a sales meeting in a sample case. A handle lets the customer compare shape and finish; a hinge may need to come out for an opening demonstration; two connectors may need to be placed together to explain how they fit. Those different actions affect how we arrange the same case.
Customers comparing handles and knobs may need to see the actual finishes together, as this cabinet-hardware discussion illustrates. A similar finish name is not enough to explain the proposed combination. The case can keep those physical choices available for comparison, with the design and finish clearly identified.
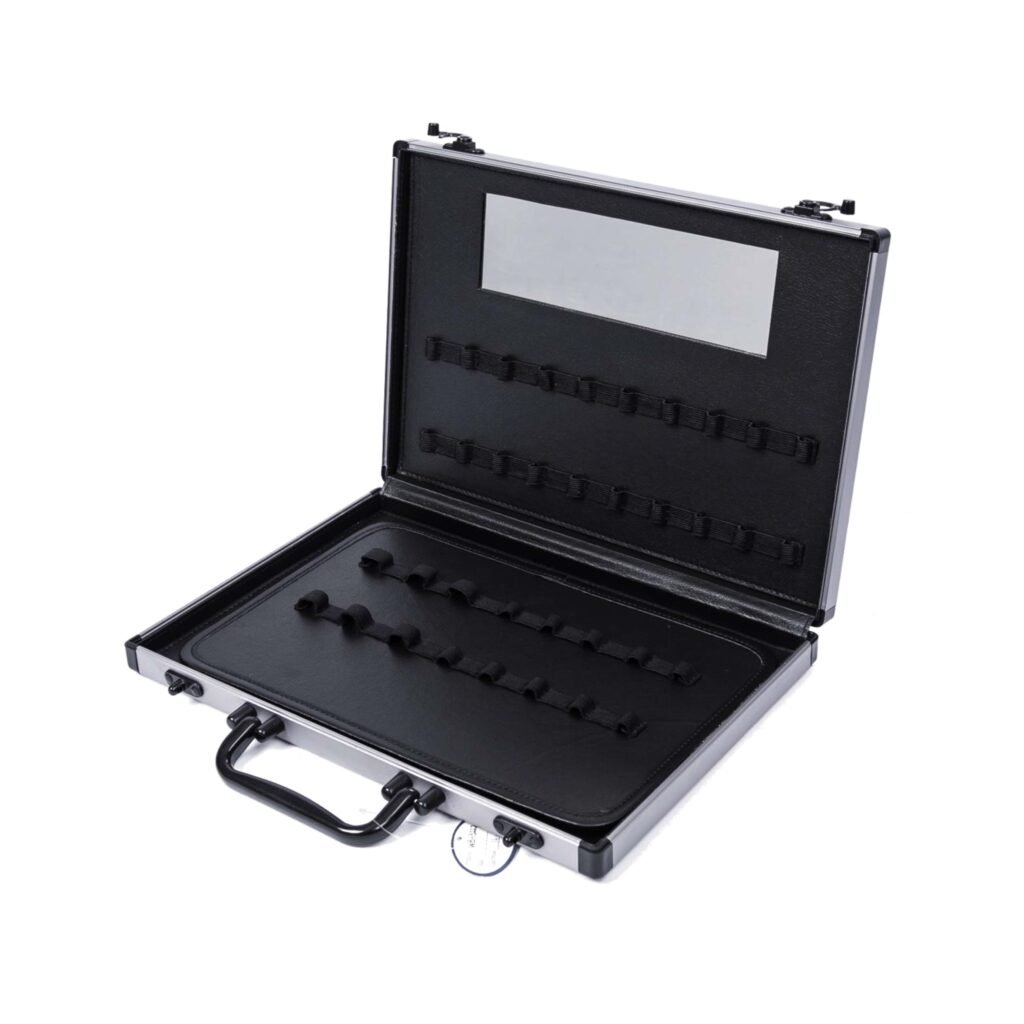
At Aluvox, we can start with a handheld presentation case and develop its interior around your product selection. Tell us which pieces belong together, which details should face the customer and which samples your representative will remove. We can then work on the layout, individual recesses and space for handling the parts.
Arrange samples to show their machined faces and finishes
For a furniture handle collection, we could place the main designs together, with each design's finish options alongside it. The customer can choose a shape first, then compare that handle in the available colors and finishes. If you prefer to present a complete coordinated range, the handle, knob and matching bracket could instead sit together as a group. The arrangement should follow the way you sell the collection.
For a machined connector, the feature you want to explain may be on one face or at one end. We can change the part's orientation and how deeply it sits in the insert so that feature remains visible. A deep recess may hide a connection point; a shallower one exposes more of the part but still needs suitable support. We would develop that position around the actual component rather than give every piece the same recess depth.
Different-sized parts also need to be considered together. A long handle and a compact hinge do not need equal-sized spaces simply to make the layout look uniform. We can compare their positions on the same layer and leave room where a representative needs to reach between them. If the full selection makes a handheld case too large, we can compare a smaller selection for each meeting with a fold-out display format for the wider range.
The outside of the case can carry your brand graphics, while the product information beside the samples identifies the designs and finishes inside. For example, the customer should be able to distinguish a handle design code from its finish code when discussing a combination. The wording and position of those identifiers can be planned alongside the layout.
Adjust recess depth and finger space for demonstrations
For a handle that will be picked up, we can leave access beneath the grip or a finger cutout beside it. A small connector may instead need enough of its body exposed above the insert to grasp. The useful opening depends on where a person can actually hold that product, so copying the same finger notch around every sample is not always appropriate.
A hinge demonstration needs a different decision: will the hinge open while it remains in the case, or will your representative lift it out first? If it comes out, we can concentrate on access for removal and how it returns to its recess. If it is to move in place, the layout needs to be developed around that movement and tried with the actual hinge. Its outline when closed is only part of the space it uses.
For a pair of mating components, we could place their storage positions next to each other so the demonstration starts with the correct pair. Any loose screws or small accompanying pieces can have a separate position beside that pair. If some samples will be left with customers, they can be arranged in another area rather than occupy the fitted positions used by the reusable demonstration set.
At the sample stage, try the case as your representative would use it: open it on a table, take out the handle, operate the hinge, bring the connectors together and put the set away. If one part is awkward to lift, we can revise that recess's depth, direction or finger space. Once the pieces are back in their storage positions, the sample also needs to show that the lid closes as intended.
Building Materials & Furniture Finishes
Wood veneer sheets, decorative laminate samples, tile pieces and upholstery fabric swatches are examples of products for a materials presentation case. A customer may compare two cabinet finishes, place a fabric beside a wood sample, or take a tile over to the surface being discussed. The case needs to support that selection process as well as hold the collection between meetings.
A carried selection does not have to become a sample library. In this designers' discussion, spare samples are useful for alternatives, but identification and discontinued products also enter the conversation. For your case, we can distinguish the current presentation set from optional alternatives and keep the identity with each removable piece.
We can develop the interior around the actual mix you plan to carry. Thin sheets, fabric swatches and thicker blocks need different storage arrangements, so we would first look at which samples stay in the case for viewing and which need to come out. That gives us a starting point for the compartments, access space and case size.
Give thin swatches and thicker samples suitable storage positions
For a wood veneer or laminate range, you may want to show a family of colors together. We can compare an arrangement that presents those samples side by side with one that groups them for removal and browsing. If the face of each sheet needs to be visible at the same time, the layout needs enough display area; if the customer will take the sheets out, the priority changes to finding and lifting the required sample.
A tile piece or thicker furniture-finish block needs to be considered by its own dimensions. We can arrange separate positions for those pieces and adjust the compartment depth to leave a useful edge accessible. Making every compartment as deep as the thickest block could leave a thinner sample difficult to reach. The sample mix, rather than a uniform grid, should guide those depths and positions.
Fabric swatches may be supplied as loose pieces or as an existing bound set. Tell us which you intend to carry. A bound set needs a position for the whole set; loose samples that will be paired with tiles or wood finishes need to be individually accessible. We can plan those areas beside the rigid samples without treating every material as another block in an identical recess.
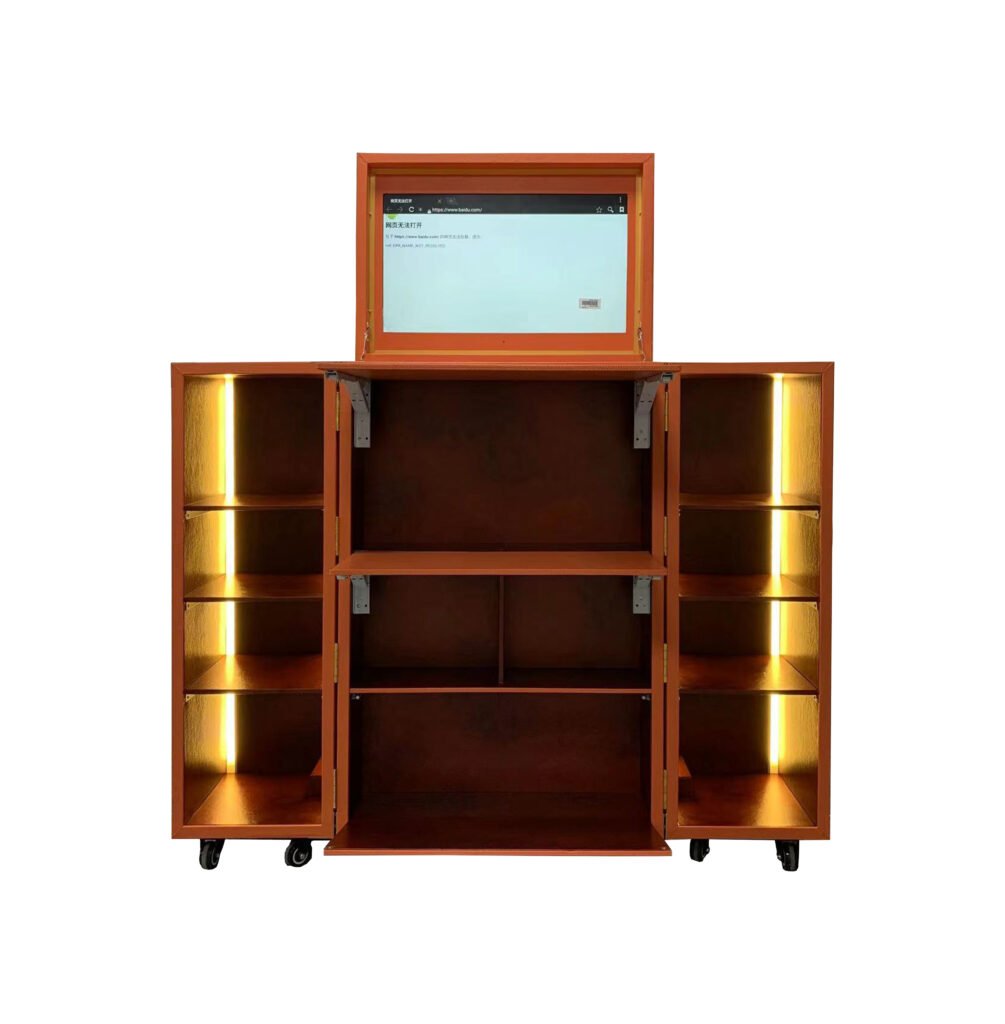
For a compact selection taken to client meetings, our handheld presentation cases provide a starting point. If you need a larger collection visible at once, our fold-out presentation cabinet offers another format to consider. Send us a representative mix of the intended samples so we can compare the arrangements before choosing the overall dimensions.
Make samples easy to compare, replace and update
Suppose your representative is presenting finishes for a cabinet and its surrounding room. The customer takes out two laminate colors, places them beside a fabric and then compares the preferred combination with a tile sample. In that situation, the samples need to leave the case separately. Each removable piece should keep its own identification so the chosen color or finish can still be recognized on the table.
The case layout can follow the way you discuss the range. We could group wood finishes together and give fabrics and tile pieces their own areas. If you sell coordinated collections, an alternative is to place the materials for each collection together. These are different ways to present the same products, and we can develop the interior around the one your sales team will use.
Collection updates also need to be considered by what changes physically. Replacing a laminate color with another sample of the same shape and thickness may allow the position to stay the same, with updated identification. Adding a thicker tile piece or a wider fabric set may require a different compartment. A new color name alone does not tell us whether the insert needs changing.
If regular updates are planned, show us both the current selection and the samples you expect to add. We can compare which positions could remain and where the layout would change, then discuss a revised area, another insert or a different case size. Whether the existing case body can be reused depends on those actual dimensions and the proposed arrangement.
Try the sample case through a selection meeting: take out the materials, place the combinations together, return the pieces and close the lid. This lets you judge whether the edges are easy to reach, the product codes remain useful away from the case and the complete selection packs away as intended.
Maintenance & Equipment Service
Screwdrivers, sockets, a multimeter, an inspection light and job-specific spare parts might all belong to a service kit. For an equipment brand supplying dealers or a service company equipping technicians, the difficulty is deciding what should have a permanent position and what must change from one job to the next.
That distinction appears in a machine-tool service engineer's discussion: the contents change with the machine being serviced, making a fully fitted layout less convenient for that person. We would use that question to define your kit before cutting the interior.
Give regular tools fitted positions and leave a separate parts area
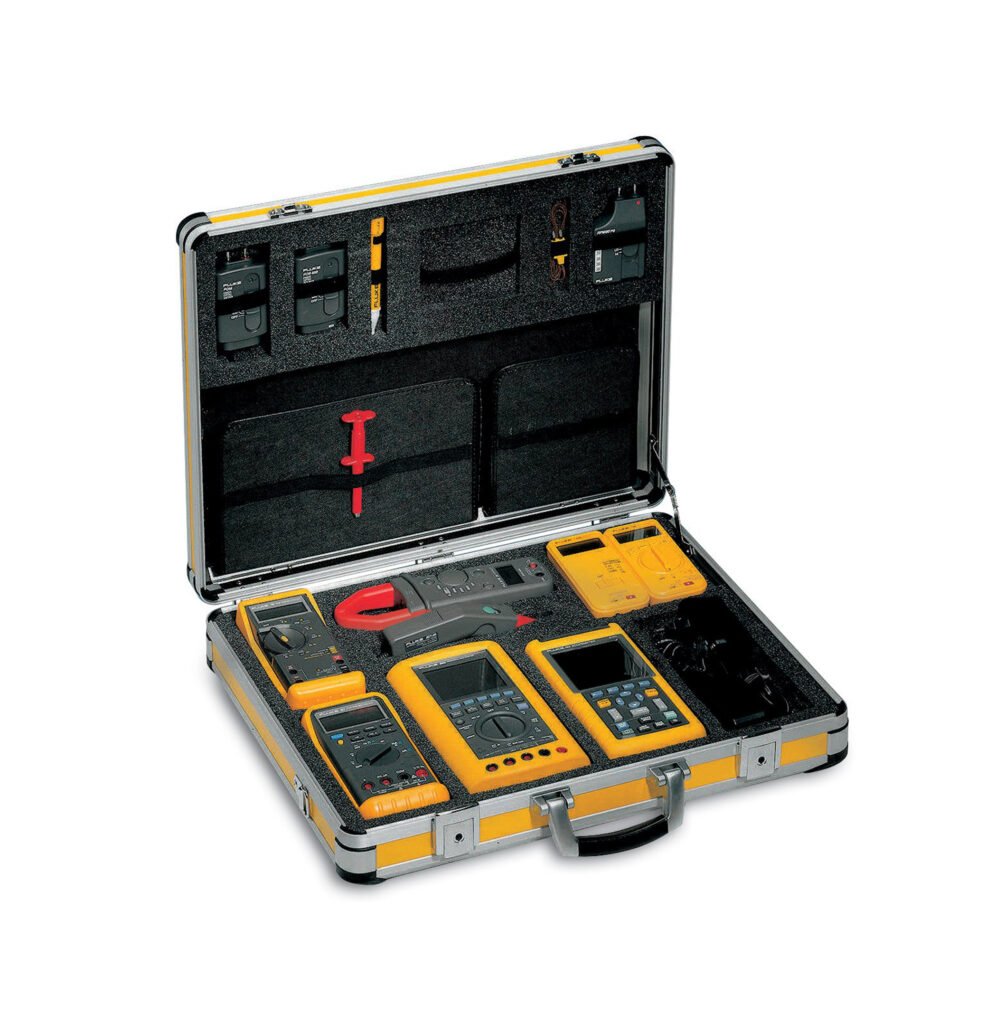
For a consistent core set, we can develop individual positions for the meter, inspection light and selected hand tools. The outlines need to include the grips, protective boots and holders that actually travel with them. A meter in its rubber cover is a different shape from the bare instrument shown in a catalog.
The spare-parts area can follow a different arrangement. If technicians already use small lidded boxes for terminals, fittings or screws, we can plan around those boxes as complete units. A wider compartment for that changing selection may be more useful than cutting a permanent recess for every spare part. Its dimensions would come from the intended containers and the amount carried on a typical call.
For a distributor supplying several service packages, the same core tools could sit in one part of the layout, with the remaining area developed for each package. We would compare those combinations before deciding whether they can share a case body.
Make the first tool accessible without unpacking the whole case
Think through the first few minutes at the machine. If the meter is used before the larger tools, placing it underneath another layer adds an unpacking step. We can rearrange the positions or compare a shallower layout with a layered one, depending on the complete set.
The packed case also needs to suit the route from the vehicle to the equipment. A wheeled format can be considered for longer level routes, while stairs still require the loaded case to be lifted. We would judge the carrying arrangement with the intended contents, rather than select a larger case simply to hold every possible spare.
Photography & Video Production
Camera bodies, lenses, a cage, monitor, microphones, batteries and chargers form very different kits depending on the shoot. A camera distributor's demonstration set may stay consistent; a production team's selection may change every day. The interior needs to reflect which of those products you are developing.
In a filmmaker's case discussion, the writer wanted to carry a camera mostly assembled to avoid rebuilding it on location, but struggled to find enough space. That is a useful starting question: what needs to stay attached during travel?
Size the interior around the camera's intended travel configuration
A body with a lens, cage and top handle needs a different outline from the same camera dismantled into separate pieces. Send us photographs and dimensions in the configuration your customers will actually pack. The monitor position, folded handle and protruding connections belong in that reference.
We can compare an assembled-camera position with separate positions for the body and lenses. Keeping more parts together can make the packed shape larger; splitting the kit changes the setup work at the destination. The preferred layout should follow your working method and the equipment manufacturer's transport instructions.
If the selection changes, we can discuss divided areas or alternative inserts rather than assume one fitted layout will suit every lens combination. A new lens with its hood or tripod collar attached needs to be included in that comparison. Changing only the model name on the packing list does not establish that it fits the old position.
Leave a place for the lens that comes off during the shoot
A case can look perfectly arranged before use yet have no suitable space once equipment starts moving. For example, when the longer lens goes on the camera, the shorter lens needs somewhere to go. We can develop separate lens positions or a changeover area around the combinations you intend to use.
Batteries, small adapters and cables also need to remain accessible without being placed on top of lenses or a monitor. We can allocate positions for their existing holders or pouches alongside the main equipment. If the case is supplied as a repeatable distributor kit, those holders should be included in the sample contents, not added after the layout is finished.
Test Instruments & Electronics
A handheld meter, portable oscilloscope, inspection camera, probes, test leads and power supply can be sold or issued as one working set. The main unit may fit the case well while the accessories end up in an overfilled corner. That leaves the kit incomplete in practice if the required probe or adapter cannot be found.
An electronics discussion about probe storage raises the problem of repeatedly kinking wires. The relevant design question for your kit is how the actual leads will be stored, not just whether the instrument's body fits.
Include connectors, probe cases and cable space in the layout
We can give the main unit a fitted position and arrange the supplied accessories beside it. Measure the instrument with its protective cover and any connectors that remain attached. If leads are disconnected for transport, their plugs and storage holders need their own space.
For a coiled lead, the compartment should be developed around the storage arrangement permitted by its manufacturer. We would not choose a tighter coil merely to make the case smaller. A probe already supplied in a protective holder can be treated as a complete item when developing its position.
If your brand offers several probe packages, show us the complete combinations. The body of the instrument might stay the same while the accessory area changes. We can then compare separate insert versions with a layout that accommodates the intended alternatives.
Keep carrying and operating requirements separate
Tell us whether the instrument is removed for operation or intended to remain in the open case. Those are different projects. Access to controls and connections matters if it stays inside; ventilation, power and any proposed mounting arrangement require equipment-specific design as well.
Our equipment-case format provides a starting point for carrying the set. It does not by itself establish an electrically integrated workstation. Likewise, any ESD or impact requirement needs to be defined and supported for the proposed materials and complete configuration; a shaped foam recess alone is not evidence of compliance.
Architecture & Design Presentations
A small architectural model, a furniture mock-up, alternative finish pieces and a presentation base might travel together to a design review. These objects need different handling from raw sheets, cutting tools and other model-making supplies. An architecture discussion about moving materials describes that mix becoming difficult to store and carry.
For a presentation case, we would start with the finished objects your client needs to see. Spare material and repair tools can be considered separately rather than packed against the model's visible details.
Develop the support around the model's permitted contact areas
Show us how the model is attached to its base and which parts may be touched or supported. A stable base offers a different design starting point from a model with no defined mounting surface. The proposed insert should follow those permitted areas, with space around projecting roofs, rails or other details.
The height reference needs to include the tallest feature and any cover that travels with the model. We can also plan how it will be lifted out: reaching beneath a base is different from gripping the model itself. Photographs help explain the arrangement, but the actual object or sufficiently detailed drawings are needed to develop those contact and access positions.
Concerns about painted surfaces and projecting details also appear in a model-maker's transport question. We use those as questions to investigate, not as proof that another model owner's packing method will suit yours.
Present alternatives without repeatedly handling the main model
If the meeting compares two facade panels or several furniture finishes, those pieces can have separate positions beside the model. The presenter can take out an alternative without lifting the entire assembly each time.
For a model with a removable roof or a separate display stand, define where each piece travels and where it goes while the model is being shown. A case that holds all the pieces when packed still needs a workable unpacking sequence. We can develop the size and opening around that sequence rather than only around the model's overall outline.
Product Development & Prototypes
A product enclosure, a working prototype, alternative handles, material references and a power adapter can form one review kit. The purpose may be to compare shapes, demonstrate a mechanism or explain a material choice. The case should bring the relevant pieces together without treating every revision as the same product.
Physical samples can make a review easier to follow than descriptions alone. In a hardware founder's account of an in-person design review, bringing reference materials helped the team point to actual objects and discuss design choices. For your kit, we can plan for those references alongside the prototype.
Keep the demonstration complete, including the small supporting parts
Work backward from what the reviewer will see. A working prototype may need its stand, cable and adapter to demonstrate a feature. A shape review may instead need two enclosures and material samples. We can arrange the interior around that particular meeting rather than add unrelated development parts.
If a prototype travels partly assembled, identify what remains attached and what is fitted on arrival. Its packing position should reflect that state. Separate components can sit beside the main body in the order they are introduced, leaving the presenter a clear sequence for taking them out.
For exposed electronics or delicate assemblies, the handling and material requirements need input from your engineering team. We can develop the carrying arrangement around those requirements without assuming that ordinary foam is suitable for every prototype.
Separate the stable body from the parts still changing
A demonstration body might remain unchanged while a grip, connector or outer cover is revised. We can compare a dedicated main-body position with a separate area for those alternatives. That gives the changing pieces their own design problem instead of forcing every version into a recess made for the first one.
When the body itself grows or a connector moves, the affected positions need to be revisited. We cannot establish compatibility by updating a label. Identify the prototype versions that should travel together, and we can develop the interior around that defined set. The agreed sample then refers to those versions, giving a later insert revision a clear starting point.
Teaching & Technical Training
Robotics controllers, motors, sensors, cables, demonstration mechanisms and small assembly parts can be supplied as teaching kits. An equipment brand may need one instructor set and several learner sets. Their contents and the way people put them away need not be identical.
In an FLL coaching discussion, the question was whether to keep complete kits separate or share components in common bins. Another parts-storage discussion describes carefully sorted parts becoming mixed again during use. These are different issues from fitting the maximum number of components into a case.
Build the instructor and learner sets around the lesson
For the instructor's case, we can plan around a complete demonstration assembly and the parts used to explain it. If a mechanism stays assembled, include its full travel outline; if it comes apart during the lesson, the separate pieces also need defined return positions.
A learner set might instead group a controller, selected sensors and the parts needed for one exercise. We can develop an interior for that group and compare it with the instructor layout. If both can use the same case body, different interiors or exterior identification can distinguish the versions.
Not every small fastener needs an individually shaped recess. Where a lesson uses several interchangeable pins or screws, a suitable small-parts container can be included as an item in the layout. Its opening and closing need to suit the classroom routine as well as transport.
Make the end of the lesson part of the design
Decide which parts need to be counted back into each kit and which belong in shared stock. A fitted position for a controller makes its absence visible, while a container for consumables serves a different purpose. The interior should reflect that distinction.
Try the sample with the people who will actually pack it. If learners must remove a whole layer to return a sensor, or small parts spill while the case is being closed, that reveals a layout or container problem. We can revise the affected areas before the same kit is supplied across a class or training network.
Mobile Pet Grooming
Clippers, shears in their protective holders, blades, comb attachments, brushes and small wash-product bottles can form a mobile grooming tool kit. The grooming table, large dryer and towels create a separate carrying problem. Combining everything in one large metal case would not automatically make the visit easier.
In a house-call groomers' discussion, practitioners describe multiple trips and different ways of dividing tools, bathing supplies and larger equipment. The useful starting point for a grooming brand's case is deciding which part of that load it is meant to organize.
Develop a dedicated cutting and finishing kit
We can arrange the clipper, blade holders, comb sets and shears around the sequence used at the appointment. Include any protective sleeves or existing holders in the reference dimensions. A pair of shears in its sheath needs a position for that complete item, not a recess based on the bare blade outline.
Long combs, wider brushes and small blades do not need the same compartment shape. We can develop those areas separately, keeping the tools required together within reach. If the brush selection changes with coat type, that part of the interior can be considered differently from the permanent clipper position.
For a brand supplying starter kits and expanded kits, show us the actual selections. We can compare whether they share a base format or whether the expanded set needs another size, rather than fill a large case with empty fitted positions.
Keep used items and wash supplies out of the ready-to-use tool positions
Tell us how used tools, damp cloths and bottles are contained on the return trip. We can plan space for your chosen closed containers or separate bags, with their packed dimensions included. A partition alone is not a liquid-tight or hygienic barrier.
The larger dryer and table can remain separate if that suits the service. The sample should be loaded and carried alongside those other items, including a lift from the vehicle or a stair section where relevant. That shows whether the proposed case contributes to a manageable working set without promising that every visit can be completed in one trip.
Beauty, Nail & Hair Services
Foundation bottles, palettes, brushes, nail-color bottles, an e-file and hairstyling tools are examples of products for a beauty case. A distributor presenting a product range needs a clear display; a working artist needs access to products throughout an appointment. Those two uses can lead to different interiors even when the case looks similar outside.
Storage discussions describe digging through mixed products, while a mobile nail-case discussion raises the need for a case that fits a car, can still be lifted and remains balanced when opened. We would turn those into layout and loaded-sample questions for your project.

Distinguish a product presentation from a working kit
For a cosmetics distributor, we can start with the products that will be shown together: a complete foundation shade range, a palette collection or selected skincare bottles. If the packaging travels with them, the interior needs to follow the boxed dimensions. If products are displayed outside their retail boxes, the bottle, cap or pump defines a different shape.
A working makeup kit changes as products are taken out and returned. Frequently used palettes and brushes need accessible positions, while reserve products can occupy another area. Your intended cleaning method and existing brush holders should be considered when selecting the interior materials; a neat arrangement by itself does not establish that a surface tolerates a particular cleaner.
Our makeup case range provides formats to develop from. We can compare the display and working arrangements before choosing a structure, rather than assume that the largest case will serve both uses well.
Develop the tray layout in both its open and folded positions
Our BF-0477 makeup organizer case shows tiered trays that extend to both sides and fold back into the case. It is a concrete starting point for discussing which products should be visible when the case opens.
Small nail-color bottles or accessories might occupy the upper trays, while taller bottles or larger tools need to be considered in the lower space. The layout must account for the trays' movement as well as the height of each item. A bottle that fits while everything is open may still obstruct a tray when it folds back.
For a custom version, we can compare tray spacing, compartment arrangement and the required base area around your actual products. The loaded sample needs to open and close through the intended sequence and sit appropriately when items are removed from one side. Product placement can then be revised around the way the full kit is actually used.
For hair tools, include the tool and cable in the packed outline. If your kit needs to accept tools before they have cooled, that becomes a separate material and use requirement; it is not a feature established by this tray layout.
Mobile Massage & Wellness Services
Lotion bottles, small massage tools, cups, a speaker and folded linens can be carried for a mobile appointment. For a wellness brand developing a practitioner kit, the challenge is deciding which items belong in a fitted case and which are better carried as a separate, changing load.
One mobile therapist's bag question describes a bag with sufficient capacity but tight pockets. A separate discussion about setup surfaces includes practitioners who prefer to carry fewer extra items. More compartments and a larger case are not automatically the answer to both problems.
Keep the regular tool and bottle set accessible
We can develop positions for the tools and the bottles that travel on each visit. Include the cap or pump in the dimensions, and show us whether the bottles are packed individually or inside another container. The accessible area needs to suit the actual bottle rather than leave it trapped behind a larger item.
If the kit uses several similar bottles, the arrangement can keep their labels visible when opened. A reserve bottle may need a different position from the one repeatedly removed during a session. Upright storage can be proposed, but any leakage requirement depends on the bottle closure and the complete containment arrangement as well as the case.
Let the linen load change without rebuilding the tool layout
The number of towels and sheets may vary with the appointment schedule. We can compare a separate linen bag with an unfitted area for a defined packed linen bundle. That keeps a change in cloth volume from dictating the fitted positions for every small tool.
Used linens also need their own return arrangement. If your team uses a separate washable bag or closed container, its actual packed size can be included in the proposed set. The case is a carrying product; it should not be presented as a treatment surface, a heated-tool system or a substitute for your hygiene procedure.
Hobbies, Collectibles & Personal Kits
Watches, jewelry, miniature-painting supplies, craft tools and coffee equipment can also form a dedicated case range. These projects use the same principle as professional kits: define the complete selection and how it will be taken out, used and packed again.
Give watches and collectibles separate, usable positions
A watch-storage discussion raises concern about watches touching each other inside a case. We can develop separate positions around the watch with its intended cushion, holder or existing protective cover, including room to remove it without pulling out its neighbor.
For collectibles, keep the packaging decision explicit. A boxed model, an unboxed display piece and its separate stand use different space. Contact materials need to suit the item and intended storage conditions; the fact that something fits does not establish long-term surface compatibility.
Arrange paints, brushes and craft tools by their actual sizes
In a miniature-painting travel-kit discussion, different paint brands fit the same case differently, with taller bottles pressing against the lid. We can plan around your selected bottles and a separate brush holder rather than assume all paints share one height.
Show us the bottles closed and the brushes in their travel covers. Containers for used or wet items need to be included if they return in the same kit. A fitted bottle position organizes it; it does not replace a suitable closure or containment for liquids.
Choose between a compact coffee set and a complete presentation kit
A coffee enthusiast's case build distinguishes a complete set for longer stays from a much smaller everyday travel kit. That is also a useful distinction for a coffee brand developing an accessory case.
A grinder, brewer and small scale make a different project from a set that includes a kettle, base and several cups. We can develop positions around the complete chosen set, with separate space for filters and small accessories. Explain how equipment is emptied, dried and repacked after use so the proposed layout follows that routine. This is a carrying-case project, not an assumption that the case provides heating or food-contact surfaces.
What Can We Change About the Size, Interior, and Exterior?
The industry name gives us context, but the actual products define the work. A camera kit and a grooming kit might use similar-looking cases while needing different openings, internal shapes and contact materials.
Arrange the contents before setting the case dimensions
We can start from an existing format or develop a dedicated design. The dimensions need to include the complete packed items, their access space and the proposed interior. Internal usable space and overall external dimensions are different references; tell us which your measurements describe.

If the proposed case is too large, we can compare a smaller carried selection, a different orientation or a layered arrangement. Each changes access and packing. Adding a second layer is useful only if reaching the lower items still suits the work.
For larger kits, consider the loaded journey as well as capacity: lifting into a vehicle, carrying through doors, using stairs and finding somewhere to open the case. A handle or wheel arrangement needs to suit that defined set and route.
Combine fitted areas with pockets, dividers or changing storage
Consistent items can have defined positions. A changing selection may be better served by a separate area or another interior version. Our BA0332 interior customization article explains the different roles of pockets, dividers and fitted sections in more detail.
Tell us what may change during the product's life. Replacing the same-shaped sample is different from introducing a wider instrument or a taller bottle. We can compare the affected areas before deciding whether to revise part of the interior, replace the insert or change the case size.
Material choices follow the contents and use. Foam shape, support, handling and any specified protection requirement need to be considered together. Describe the intended transport conditions if impact, water or ESD protection is part of the project; appearance and a close fit do not establish those results.
Plan the opening as carefully as the closed case
A fold-out display, a hinged equipment case and a case with multiple trays occupy different spaces when opened. Tell us the available counter or floor area and what must stay reachable while work is underway.
We can develop the opening and internal arrangement together. The sample needs to show both states: where the products sit during use and how every tray, cable and accessory returns before closing. This is especially important where a tall item occupies the space beneath moving trays.
Put brand artwork and product identification in useful places
The exterior can introduce your brand and collection; interior identification helps users select the right item or return it to the intended position. Those roles should remain clear when the case opens.
We can plan the artwork around the available panel areas, handles and fittings. A logo that works on a flat artwork file still needs to be viewed on the assembled sample. Our case and luggage logo customization guide explains the approaches in more detail; the method needs to suit the chosen case material and finish.
How Do We Move from an Idea to a Sample Case and Batch Production?
Start with a complete kit and one real use sequence
Send us photographs, dimensions or drawings of the selected products, including covers, packaging, holders and attached parts that will travel with them. Describe one complete use: how the case is moved, opened, used and packed again. That lets us connect the proposed changes to actual work.
If you are still choosing between configurations, show us the alternatives. We can compare an existing case adapted to the set with a dedicated design. Quantities for each intended version help define the quotation and development scope; order conditions and timing depend on that agreed project.
Use the sample to resolve the positions that get in the way
Load the sample with the intended contents and follow the use sequence. The useful feedback identifies a particular problem: a connector buried too deeply, a lens with nowhere to go during a swap, or a tray blocked by a bottle when folding back.
We can then revise the affected recess, spacing or structure. Repeating the relevant action with the revised sample shows whether that change addresses the problem. Any protection testing must separately address the agreed contents and conditions; an access trial alone is not a transport test.
Agree on the batch version and the variations you will supply
Once the sample revisions are settled, the agreed case body, interior, colors and artwork need to describe the same version. A changed probe position belongs in the final interior details; a moved logo belongs in the updated artwork. Those decisions provide the reference for the batch and later reorders.
If teams or regions need different selections, identify what stays common and what changes. One body with several inserts, different artwork and a different case size involve different work. We can develop and quote those versions around their actual contents and quantities.
Whether you want to add a professional case range or supply a case with your existing products, send us your idea through our Aluvox custom case page. Tell us what goes inside, how your customers will use it and the quantity you have in mind. We can work through the case design with you before agreeing on the production version.